React with Redux tutorial
The React with Redux tutorial will help you to learn about redux, and why to use the redux, how it helps in managing the state of your application. As your application grows, managing the state in your application becomes a bit complicated. The state of your application should be centralized, and it should easy management. The redux comes to picture here to make state management easy.
How redux works?
As we know the redux is a predictable state container not only for React applications but also for JavaScript applications. Let’s look at the core concepts of the redux library.
Actions :
Actions are payloads of information that send data from your application to your store. They are the only source of information for the store. You send them to the store using store.dispatch().
Reducers:
Reducers specify how the application’s state changes in response to actions sent to the store. Remember that actions only describe what happened, but don’t describe how the application’s state changes.
Store:
In the previous sections, we defined the actions that represent the facts about “what happened” and the reducers that update the state according to those actions.
The Store is the object that brings them together. The store has the following responsibilities:
- Holds application state
- Allows access to the state via getState()
- Allows state to be updated via dispatch(action)
- Registers listeners via subscribe(listener)
- Handles unregistering of listeners via the function returned by subscribe(listener).
Data Flow:
Redux architecture revolves around a strict unidirectional data flow. This means that all data in an application follows the same lifecycle pattern, making the logic of your app more predictable and easier to understand. It also encourages data normalization, so that you don’t end up with multiple, independent copies of the same data that are unaware of one another.
Install the redux by running the below commands
npm install redux
npm install react-redux
Step 1:
Create the file src/components/manager/Manager.js if you have it already paste the below code snippet
import React from "react";
import './Manager.css'
import PropTypes from 'prop-types'

const manager = (props) => {
  return (
    <div>
      {props.isManagerLoggedin ?(
        <div>
          <h2>Welcome to your dashboard</h2>
          {props.employee.map(item => (
            <p key={item.name}> Name: {item.name}, ID: {item.id}, email: {item.email}</p>
          ))}
          <button onClick={props.logout}>Logout</button>
        </div>

      ) : (
          <div>
            <h2>Please login</h2>
            <button onClick={props.login}>Login</button>
          </div>
        )}
    </div>
  );
};

manager.propTypes = {
  isManagerLoggedin: PropTypes.bool,
  login: PropTypes.func,
  logout: PropTypes.func,
  employee: PropTypes.array
};

export default manager;
Step 2:
Create the file src/store/actions.js if you have it already paste the below code snippet
export const LOGIN = 'LOGIN';
export const LOGOUT = 'LOGOUT';
Step 3:
Create the file src/store/reducer.js if you have it already paste the below code snippet
import * as actionTypes from './actions';

const initialState = {
    isManagerLoggedin: false,
    employee:[],
};

const reducer = ( state = initialState, action ) => {
    switch ( action.type ) {
        case actionTypes.LOGIN:
            return {
                ...state,
                isManagerLoggedin: true
            }
        case actionTypes.LOGOUT:
            return {
                ...state,
                isManagerLoggedin: false
            }
        default:

    }
    return state;
};

export default reducer;
Step 4:
Create the file src/index.js if you have it already paste the below code snippet
import React from 'react';
import ReactDOM from 'react-dom';
import { createStore } from 'redux';
import { Provider } from 'react-redux';

import './index.css';
import App from './App';
import reducer from './store/reducer';

const store = createStore(reducer);

ReactDOM.render(<Provider store={store}><App /></Provider>, document.getElementById('root'));
Step 5:
Create the file src/App.js if you have it already paste the below code snippet
import React, { Component } from 'react';
import './App.css';
import Manager from './components/manager/Manager';
import Container from './components/hoc/Container';
import { connect } from 'react-redux';
import * as actionTypes from './store/actions';
class App extends Component {

  render() {
    return (
      <Container divClassName='App'>
        <h1>Welcome to react JS tutorial</h1>
        <Manager
          isManagerLoggedin={this.props.isManagerLoggedin}
          login={this.props.onLogin}
          logout={this.props.onLogout}
          employee={this.props.employee}
        />
      </Container>
    );
  }
}

const mapStateToProps = state => {
  return {
    isManagerLoggedin: state.isManagerLoggedin,
    employee: state.employee
  };
};

const mapDispatchToProps = dispatch => {
  return {
    onLogin: () => dispatch({ type: actionTypes.LOGIN }),
    onLogout: () => dispatch({ type: actionTypes.LOGOUT })
  }
};

export default connect(mapStateToProps, mapDispatchToProps)(App);
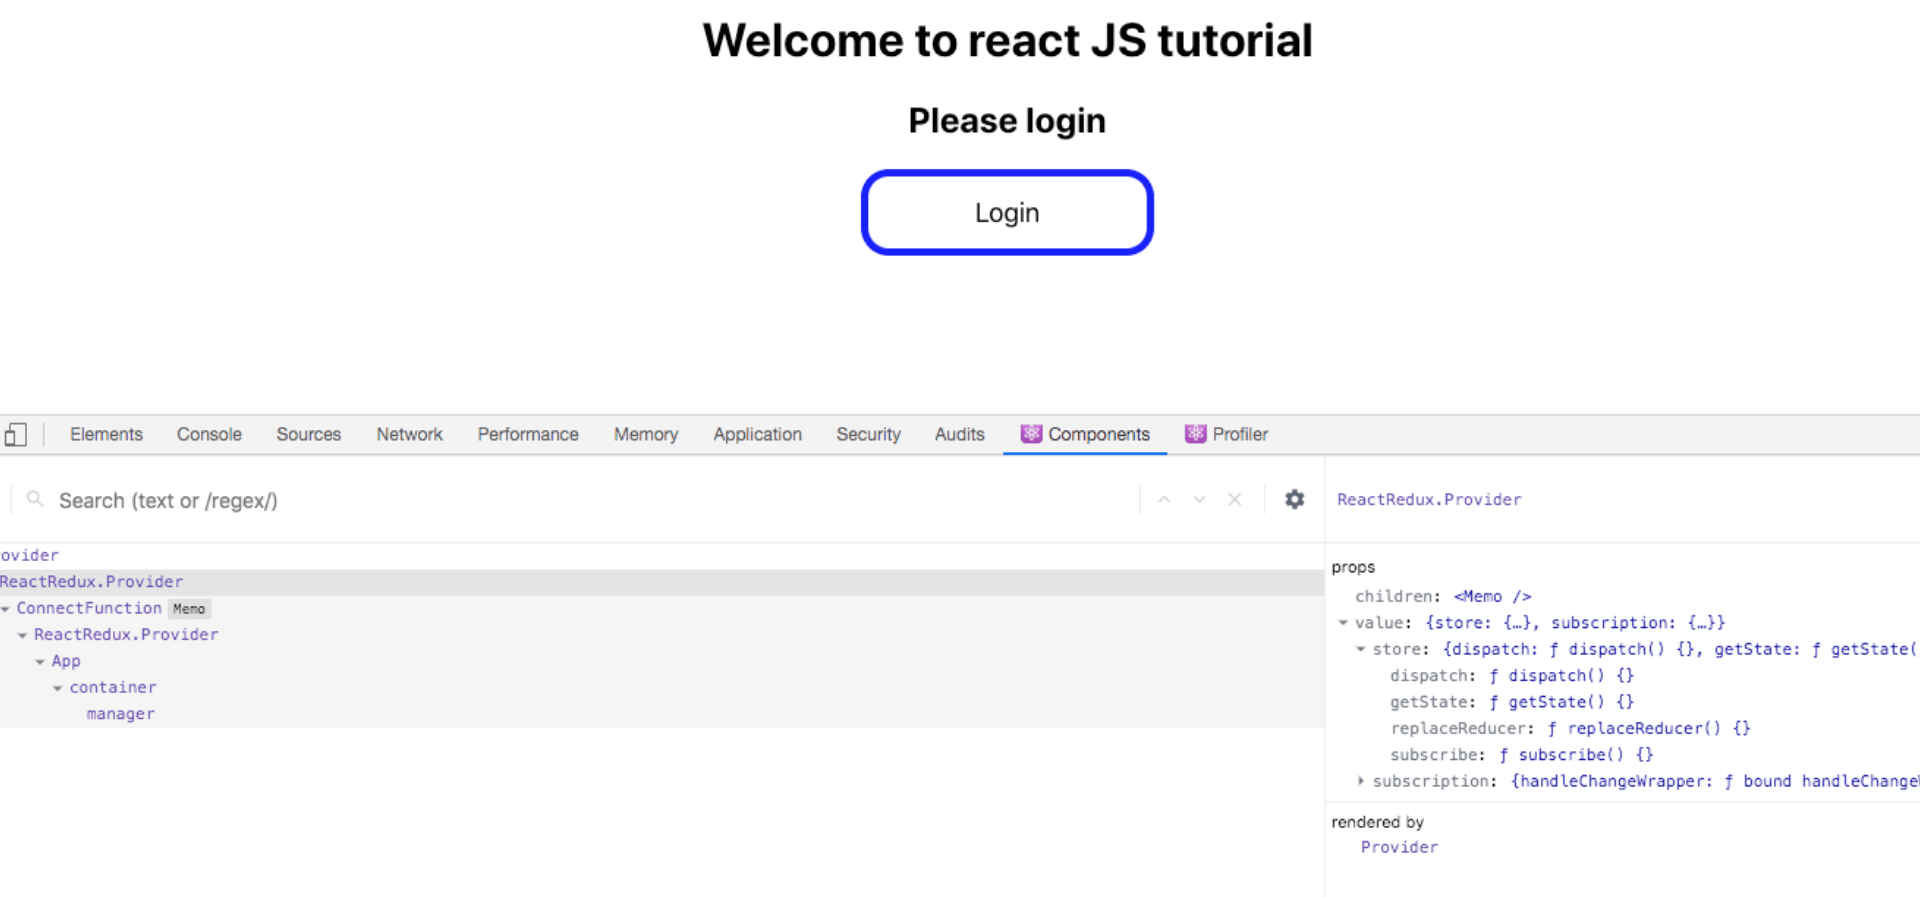
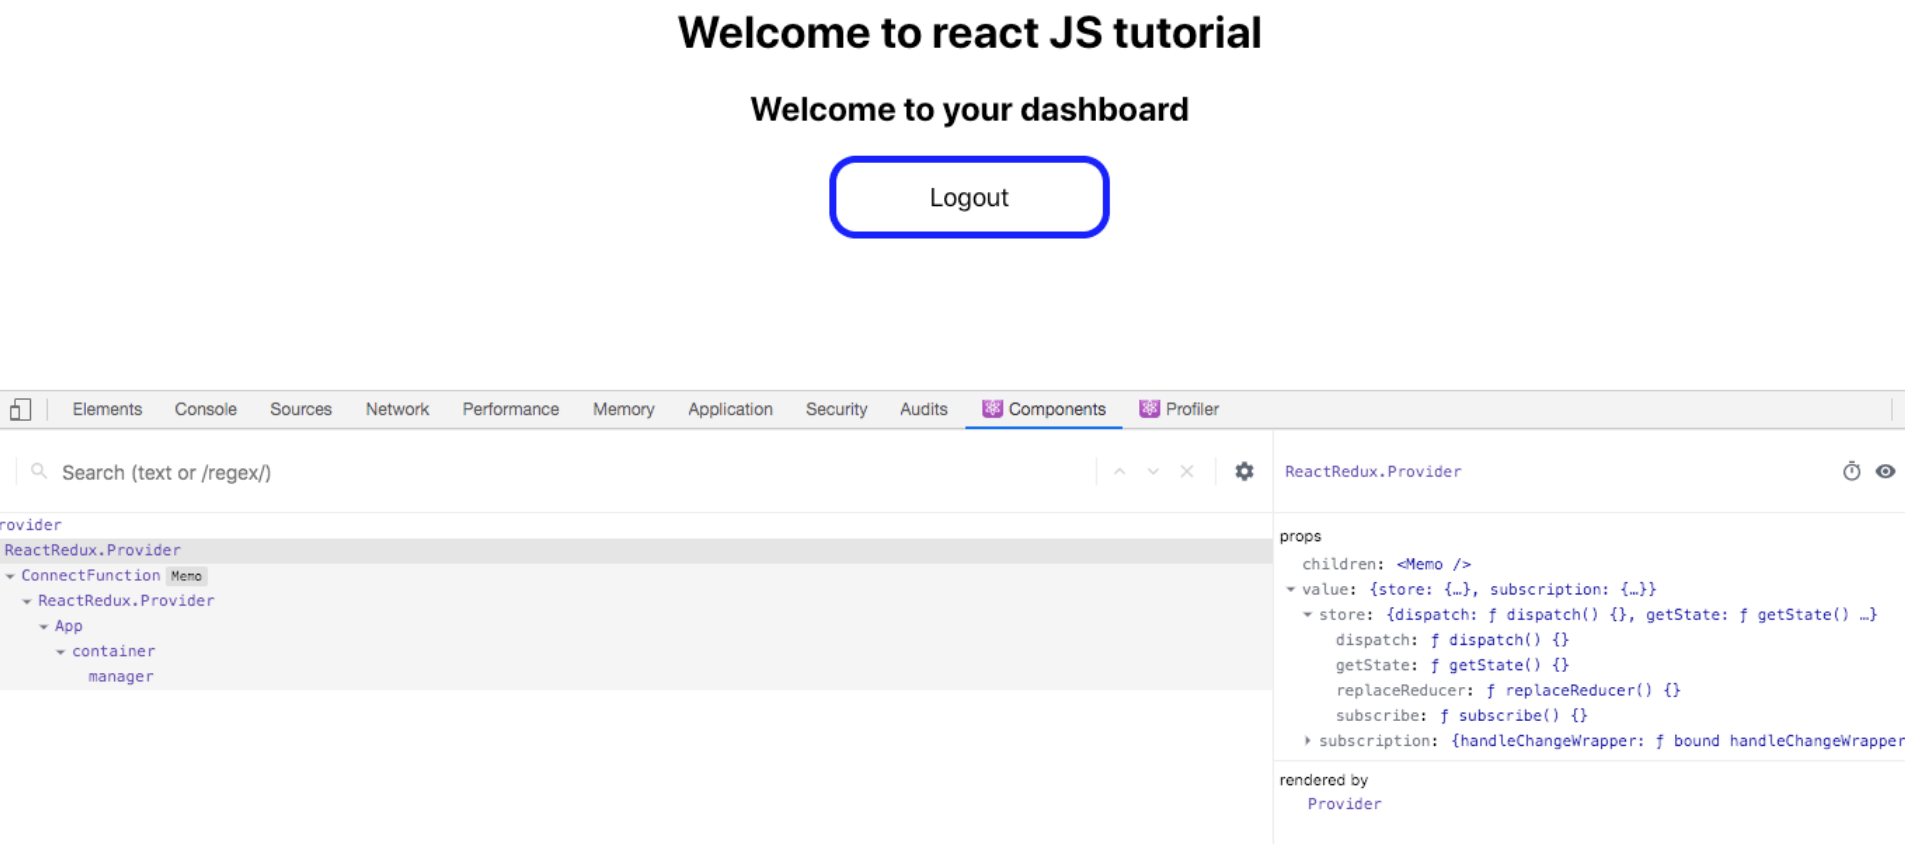
Hit the URL: http://localhost:3000/, you should be able to see the below screens


2 thoughts on “React with Redux tutorial”
Comments are closed.